
I am now lucky enough to have a whole room to myself for quilting. I know! A whole room! I still have not finished moving in and setting up the furniture, but I wanted to make a design wall. Just because I have room for it. I saw this tutorial from Oh, Fransson ages ago, so I used it as a guide. Want to see how it was made?
We bought three sheets of polystyrene insulation that were about 2 ft by 3 ft. They're nice and light, making it easy to hang. Now, if I had a choice, I would choose a solid white board so the little speckles don't show through, but this was the one and only option we had. We went with it. It was really inexpensive, about 6 euro for the three. Go splash out.

I laid them out, aligned the edges and used packing tape to keep them together. I used that packing tape that we all hate - the tape with little strings running through it so you can't open it without a knife. I hate that on a package, but loved it here! One strip down the seams will do you.

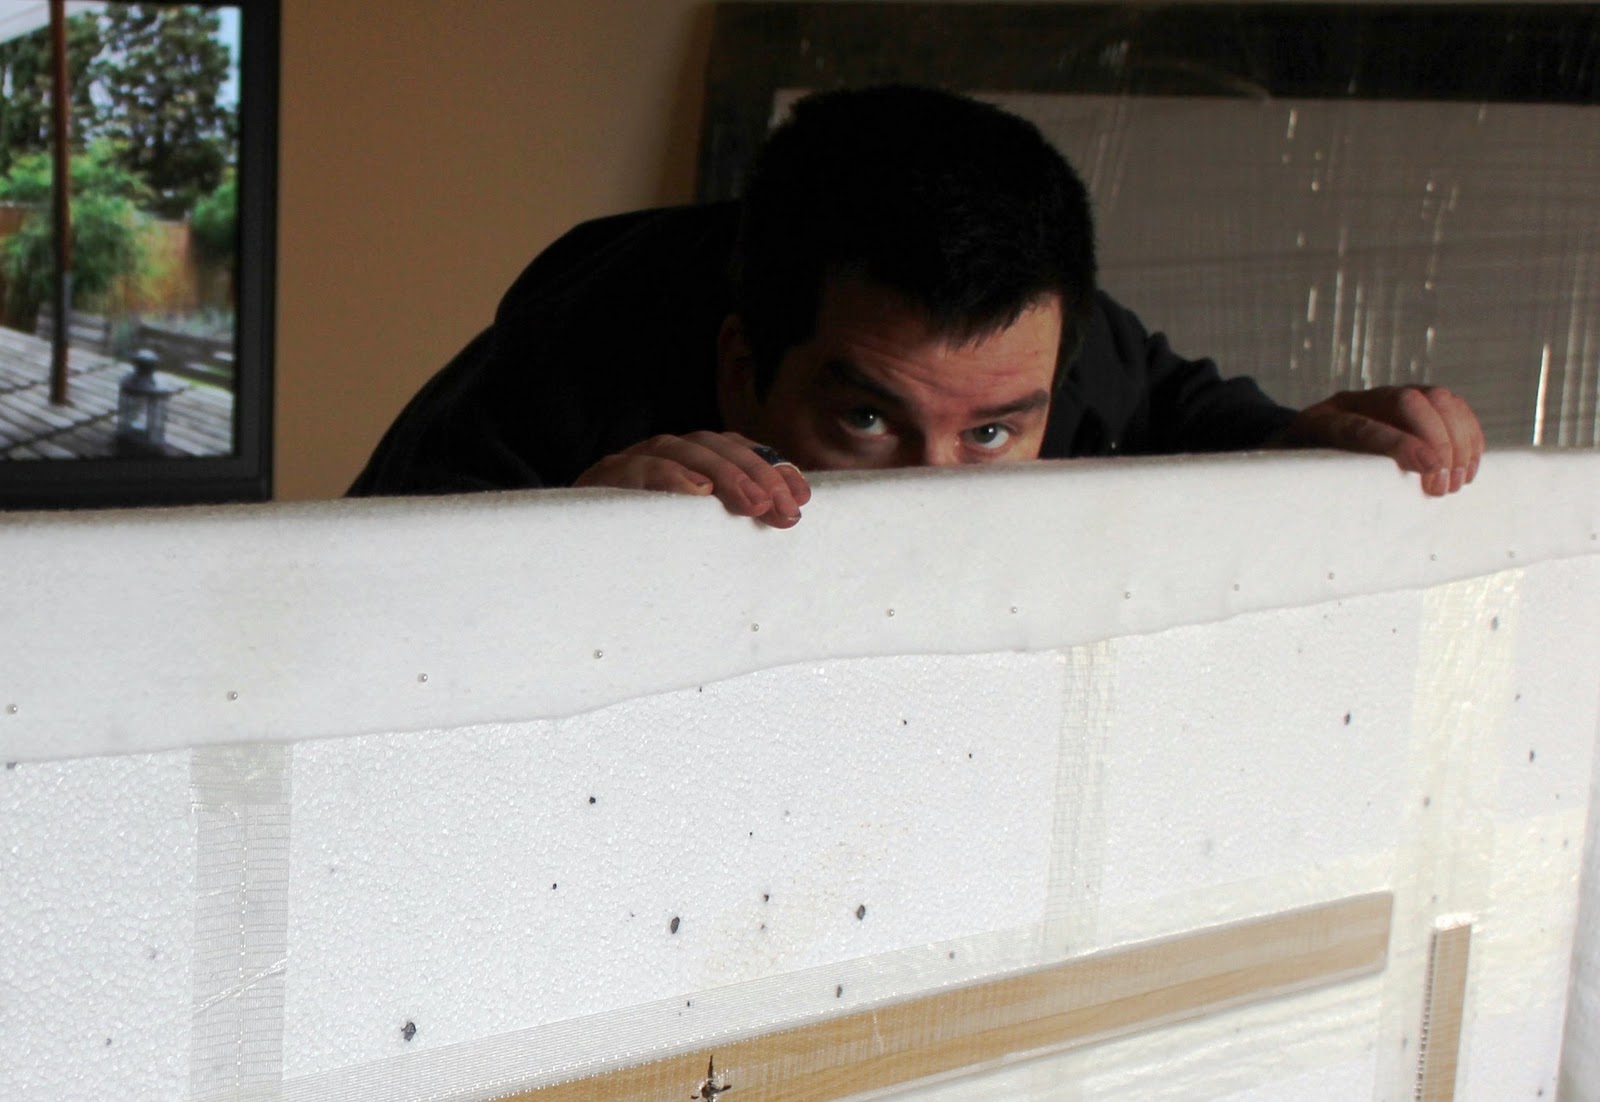
For the back story...I wanted a design wall. My other half wanted me to make it by myself. I, of course, wanted him to just make it and for it to magically appear on the wall. So, I brought the materials into the living room to make on the only large-ish floor we have in the house that's semi-clear of boxes (oh, don't fake like you can't see the mess that is my living room! We're still unpacking...) while he was watching TV....and then he couldn't resist getting up and helping out. He left his little spot on the sofa and leaving my quilt in a little ball behind him! No respect.

But here it he is! Yippee! The DIY master.
So, we taped up the seams and then taped along the edges to kind of protect the corners a bit in case I drop it. And I will. I'm a bit clumsy.

We found a bit of wood laminate that was maybe 1/8 inch thick and 2 inches wide, so we ran that along the top and bottom edge (the long sides) to support the seams and ensure the boards remain even. We stapled them into place, then taped over them again to hold them down.

See his little Spiderman Band Aid? Awww....
We put two more strips of this left over laminate on the back for hanging. I want to be able to flip it from landscape to portrait (taking words from Microsoft Word, but you get the idea).

And again, they were taped into place.


...to drill a little hole.

We then used the ottoman, but you could use a coffee table, to get it off of the floor. I spread the Warm and White over the top, and then spread it evenly along the front of the board taking out the wrinkles. We cut it so there was enough to cover the edge of the board, then wrap around by about 3 inches.

The Warm and White lightly sticks to the board, so once its there you can gently flip it over onto the ottoman. Very very lightly pull it (without creating puckers) and pin it into place.

I used little plastic headed pins that are about 1 1/2 inch long to really secure it in place. They are about 3 inches apart, which might be overkill looking back.

And it went up really easily because it it so light. I was just dying to get my star blocks up and arranged a bit, so B took the camera and started snapping away. Here's me in my Sunday best - a Phillies sweatshirt. At a whopping 5 ft 2, I can't reach the top of the board. I will have to get a step stool :(

A 4 ft x 6ft quilt center will fit pretty well on there, but not boarders and binding. So it goes. I am already thinking of making a second for the other wall. At 6 euro to get the three boards it is a steal. I still have TONS of "left over" Warm and White that I could use, too. You might see another in the near future!

39 comments:
That's fabulous!
My design wall is simply a flannel backed tablecloth hung on a curtain rod above the built in wardrobe in my sewing room. It's on my post from Monday (if you can get your eyes off the horses LOL!!)
Yay I can see you!!!!
So jealous - we have no walls big enough for a design board :(
The glimpses of the house look awesome!
Brilliant! It is so much easier to see what you are doing! Di xo
My 'design wall' is the floor... Do the blocks just stick to your warm and white? or do you pin them?
and I do not have a suitable place for a design wall to go up.
The blocks look great, lovely vibrant colours!
This is a fab tutorial. If I ever work out where I could put up a design wall I'll come back and copy you. Your stars look great too:)
Design boards are the business. I covered an old IKEA picture frame with wadding, but I could definitely do with a bigger one (& a bigger room to put it in)! Lovely to see your pretty noggin! And what a great helper you've got there! Jxo
I'm so jel!!! That looks awesome! I seriously have no wall space for a design wall though :-(
Also, in my head, you are blonde. Weird! Nice to see you anyway x
What a hero, all that with a sore finger!!
My wall is kust wadding pinned to the coving, but it does the trick, what a difference to be able to look straight at the quilt in progress. You blocks are lovely by the way.
Towering over you at 5'4" - not! Hehe! You look so lovely Cindy!
Made your blocks yesterday and will photograph and send them today I hope!
Was wanting a bigger design wall and have a space so thanks for the heads up on how to do it but can you send your helper over with his tools ??
What a brilliant tutorial, thanks for sharing it....now where did I leave hubs!!!
Cindy
you lucky thing, a whole room for sewing, a design wall and a hubby who is willing to help
Thank you - I succeeded in making me jealous! ;-))
yay!! You really must be loving the new house :-) bigger rooms, cuddlier clarkson and now a design wall! Awesome :-)
ps mine is redsox...
Yay! I don't know what I ever did without my design wall...you will love it!
Oh my gosh, Cindy! This is awesome!!! I don't have a design wall, but maybe I will in the future. :o) And your wonky stars....oh boy....I am definitely swooning over them!!!
Congrats! I'm only 5'1 so I understand not being able to reach things!
It looks great Cindy - would love one, if only I had a free wall to put it on! Love the stars!
yippee!! What a lovely helper! The stars look fantastic
Really nice! Good work making the design wall!
There is nothing like having a design wall...I love mine. I covered mine with flannel. That works well too.
I'M SO JEALOUS! My design wall is the floor - its an accomplishment that i've trained the dog to walk AROUND the quilt and not through it.. she's very supportive of me and good at it now haha - congrats and enjoy!
first up, this is the cutest tutorial ever! i totally understand doing things in front of the hubs to encourage his help! haha!
i was just talking to some friends about a design wall and how to make on and where to put it. this is a bunch of help for me!
I have a room but it`s cold and bare and has nothing in it! I have to change that. Love your design wall, the sneeky peek of Mr. Fluffy Sheep and a glimpse of you too!
I made a design wall in my sewing room last year and it has made a HUGE difference in the way the room both looks and functions. Nice work on yours!
http://www.skooksplayground.com/2011/06/diy-design-wall.html
My sewing room is tiny and the walls are covered in storage so I have no room for one of these - jealous!! Your stars look even more gorgeous all together, though!!
So much easier than mine! But I love mine too! I used 4x8 pieces of insulation, cut down to 4x6. I bought two pieces, but only have one covered right now, and 4 ft x 6 ft is pretty good for most of my projects. I love how you hung it, I need to add that to mine!
PS My boards are purple, which also showed through the W&W. I covered it with cheap flannel first. Adds to the price, but it's white now!
So cool! I havent gotton around to doing mine yet, im making do with a scrap of batting pinned to the wall with drawing pins, I can see it staying that way for a while as its working lol!
Im jealous of the design board and extra jealous of your stars....Quilt is going to look great.
Lucky girl!!!!
Yea! A photo of you and your man. Ace post just for that. You are grogeous so why have you been avoiding the camera!? And I am a short arse too so we will be looking each other in the eye when we meet.
yay, that's a great design wall! and so lovely to see you especially with such a happy smile :)
Love the new toy - the man done good in helping out. Think you can send him my way now? Not 'cos I can't do it myself, but just 'cos I want someone else to :oD
I so need to evict my kids from the playroom and turn it into a sewing room. Then I could take down all their pictures from the wall and make it into a design wall. I could even get you to come help me out! Would that make me the wicked witch of the west? ;-)
Hello! *waving* I love your design wall and am really quite envious of it (turning green!) but I don't have a spare wall in my house that's in a sensible place...guess I'll make do with the front room carpet and climbing the stairs for a good look!!
love it! This is what i need! Can you send your man over please?!
Oh I love your design wall - and your clever tactic of making it 'yourself' in the lounge room! Your blocks going in the mail today...enjoy.
hey Cindy - you'll wonder what you ever did without a design wall - and I love your idea of being able to hang it both ways - and I've got a step ladder for mine as well (lol) - but there are other rewards to being height challenged !
Your stars look great! I just made my first star block last weekend!
I'm quite tempted to copy your design wall. Soon I will have my sewing room back... It had been converted to a guest room for the holidays.
Post a Comment